Most loft boarding problems start before the first board goes down. Compressed insulation, overloaded joists, blocked ventilation and awkward access can all turn a useful storage upgrade into an expensive mistake. If you are working out how to prepare loft for boarding, the real job is not just clearing space – it is making sure the loft can be boarded safely, perform well and stay practical to use.
A well-prepared loft should give you extra storage without creating new problems elsewhere in the house. That means protecting insulation performance, understanding what the structure can handle and deciding how you will actually use the space once it is boarded. For some homes, preparation is straightforward. For others, especially newer properties or older houses with uneven roof structures, it needs a more careful approach.
Why preparation matters before loft boarding
Lofts are often treated as empty space, but they are part of the way your home works. Insulation helps keep heat in the rooms below. Ventilation helps prevent condensation. Ceiling joists may support plasterboard and light storage, but not necessarily frequent loading with heavy boxes, furniture or suitcases.
That is why preparing a loft properly matters. If boarding is fitted directly onto joists above mineral wool insulation, the insulation can be flattened and lose effectiveness. If boards are added without checking load limits, the loft may feel solid at first but still be under more strain than intended. If pipes, cables or extractor ducting are hidden beneath boards without thought, future maintenance becomes much harder.
Good preparation protects the value of the boarding itself. It also helps you avoid the common situation where a homeowner gains storage space but loses energy efficiency or peace of mind.
How to prepare loft for boarding step by step
The first step is to be clear about what the boarded loft is for. There is a difference between occasional storage for Christmas decorations and regular access for family belongings every week. The intended use affects how much flooring is needed, how easy access should be and whether lighting, ladders or a larger hatch would make day-to-day use safer.
Next, clear enough of the loft to inspect it properly. You do not always need a complete empty-out at the start, but you do need to see the joists, insulation depth, wiring runs and the general condition of the roof space. Dust, old insulation offcuts and long-forgotten items can hide issues that matter later.
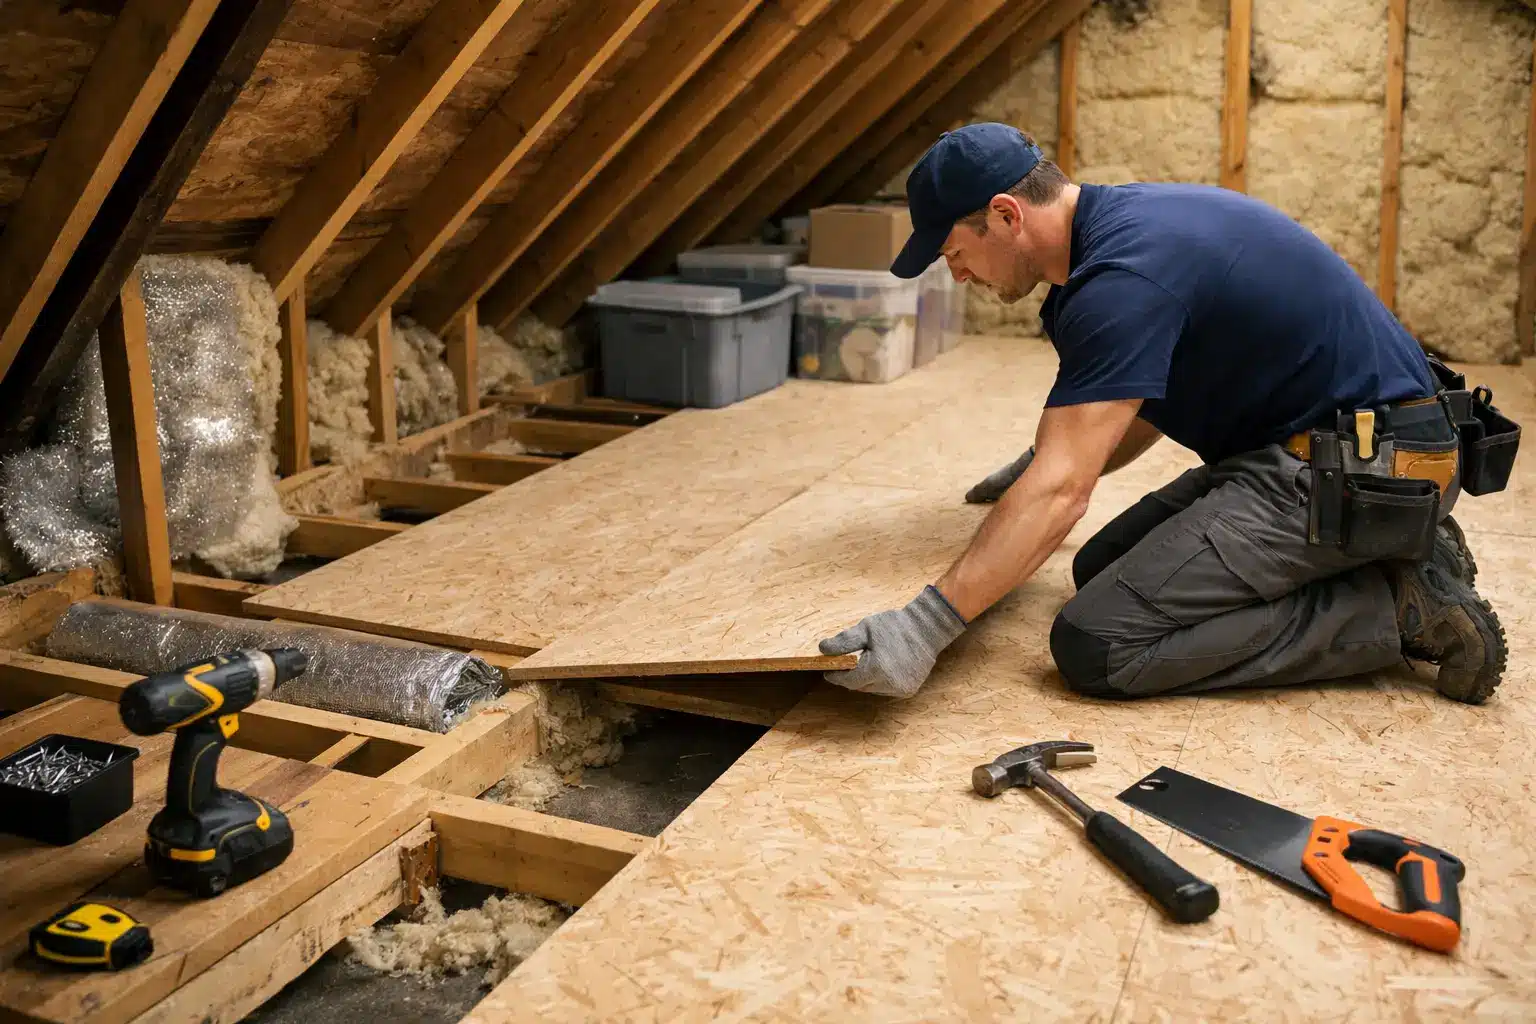
After that, assess the structure. In many homes, standard ceiling joists are not designed in the same way as floor joists in a habitable room. That does not mean the loft cannot be boarded for storage, but it does mean the boarding system needs to suit the property. Raised boarding systems are often the sensible answer because they create a platform above the insulation rather than crushing it.
Then look at insulation and ventilation together. Modern guidance usually means deeper loft insulation than many older homes originally had. If the insulation sits above the joists, direct boarding is usually the wrong approach. You also need to keep airflow at the eaves where required, because blocked ventilation can contribute to damp and condensation problems.
Finally, think about access and layout. A loft that is technically boarded but awkward to reach often ends up underused. Safe access, sensible lighting and enough headroom in the right places make a bigger difference than many people expect.
Check the loft structure before anything else
Before boards, ladders or lighting are discussed, the structure comes first. Ceiling joists vary by property age, build type and original design. New-build homes can be especially important to assess carefully because some homeowners are rightly concerned about protecting warranty requirements and not making alterations that create future issues.
You should check for sagging, previous water ingress, damaged timbers or signs of repairs. None of those automatically rule out loft boarding, but they do change the conversation. A professional survey is often the quickest way to understand what the loft can safely support and what type of system is appropriate.
It is also worth identifying obstructions early. Water tanks in older homes, pipework, cables, downlights and solar equipment can all affect the boarding layout. A tailored design usually works better than trying to force a full-coverage boarded floor into a loft that needs access routes and service zones left clear.
Older homes and newer builds need different thinking
Older properties can have irregular spacing, uneven timbers and legacy insulation upgrades that need working around. Newer homes may have deeper insulation and more concerns around compliance. In both cases, the right preparation is less about doing everything yourself and more about knowing where the risks are.
Protect insulation, don’t squash it
One of the most common mistakes in loft boarding is treating insulation like empty padding. It is there for a reason. If it is compressed under boards, it cannot trap air as effectively, which means it does less to slow heat loss.
When deciding how to prepare loft for boarding, measure the depth of the insulation and compare that with the joist height. In many lofts, the insulation will be deeper than the joists. That is usually a sign that raised boarding is the right route, because it leaves the insulation in place and creates a storage deck above it.
This matters for comfort as much as energy bills. A loft that is boarded badly can make upper rooms feel colder and less consistent in temperature. It can also create frustration later if you realise your extra storage has come at the expense of thermal performance.
Ventilation should be kept in mind at the same time. Loft insulation should not be pushed tightly into areas that need airflow, especially around the roof edges. If the loft has signs of condensation, dark staining or musty smells, address those before any boarding work begins.
Plan access, safety and everyday use
A loft only becomes useful storage when it is easy and safe to reach. If the hatch is too small, the ladder feels unstable or the area is poorly lit, the space will never be as practical as it could be.
Preparation should include checking the hatch size, the position of the access point and how you move items up and down. Many households find that once they board the loft, they quickly want a better ladder and brighter lighting as well. It often makes sense to plan these improvements together rather than treat them as separate jobs.
Good lighting is especially valuable. A single dim bulb in the centre of the loft leaves shadowed edges and makes it harder to use the space confidently. Safe access routes and clear visibility reduce the chance of stepping off the boarded area or catching cables and stored items.
If you expect regular use, think about storage layout before installation. Keeping a central walkway, leaving room around key services and boarding the most accessible areas first usually gives a better result than trying to cover every square metre.
Don’t ignore wiring, pipework and services
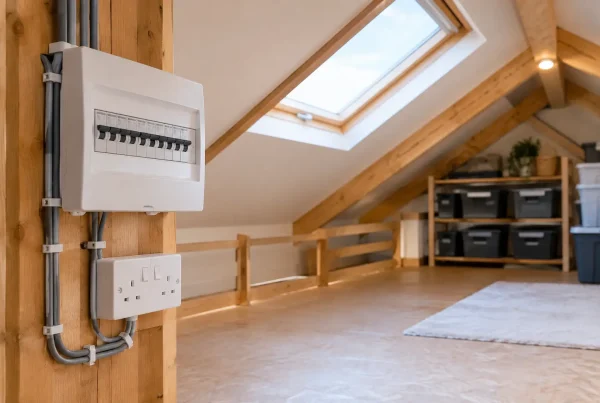
A loft is not just an empty void. It often contains electrical cables, junctions, pipe runs, extractor ducts and occasionally equipment that will need future access. Proper preparation means deciding what should remain visible, what can be protected and what must not be boxed in carelessly.
Electrical work deserves particular caution. Cables buried under insulation or trapped beneath boards can overheat in some situations, and junctions should not become inaccessible without proper consideration. Pipework also needs thought, especially where freezing risk, maintenance access or existing lagging are concerned.
This is one of the reasons a bespoke approach tends to outperform a DIY patchwork of boards and offcuts. A well-planned installation leaves the loft safer to use and easier to maintain.
Should you prepare the loft yourself or call a specialist?
Some early preparation can be done yourself. Clearing stored items, noting problem areas, checking for obvious leaks and thinking through how much storage you really need are all useful starting points. That helps you approach the project with clearer priorities.
Where homeowners often come unstuck is in judging structure, compliance and the right boarding method. What looks like a simple boarding job may actually need raised systems, adjusted access, additional loft insulation considerations or a more selective layout. In areas such as Cardiff, Newport and Bristol, many households are looking for extra storage without the cost and disruption of a full loft conversion. In those cases, getting the specification right matters more than rushing into installation.
A specialist can usually identify the practical route much faster. That includes whether the loft is suitable for boarding, how to preserve insulation performance and what access upgrades would make the space genuinely useful. For homeowners who want the result done properly once, that reassurance is often worth far more than the apparent saving from trial and error.
If you are preparing for a survey, make sure the loft hatch is accessible, stored items are moved enough for inspection and any known issues such as past leaks or electrical alterations are mentioned upfront.
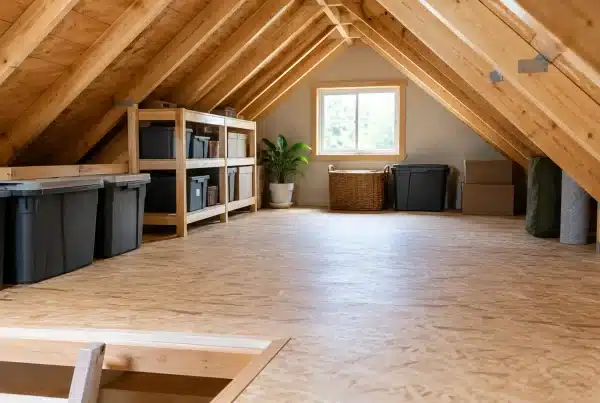
The best loft boarding projects feel simple once they are finished. Boxes are stored neatly, access feels safe and the house stays warm and efficient below. That only happens when the preparation is taken seriously first.