A loft can be one of the biggest sources of heat loss in a home, yet it is also where many households need extra storage. A well-planned guide to loft insulation upgrades starts by balancing both needs: keeping heat in the rooms below while creating safe access to the belongings you want to store.
Simply laying boards directly over insulation may seem like a quick fix, but it can compress the material, reduce its thermal performance and restrict airflow around the roof space. The right upgrade protects your home’s energy efficiency and gives you a loft that is safer, cleaner and far more useful.
Start with the condition of your existing loft
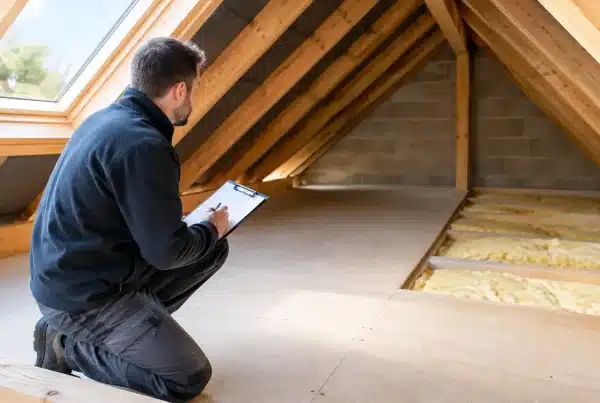
Before choosing new insulation or boarding, inspect what is already in place. Older homes may have thin, uneven or degraded insulation, while newer properties can have deep mineral wool that should not be flattened. You should also look for signs of damp, roof leaks, poor ventilation, pest activity or damaged wiring.
Insulation cannot solve a moisture problem caused by a leaking roof or inadequate ventilation. These issues should be addressed first. Installing new materials over damp insulation can trap moisture and make a small problem more expensive to put right later.
It is also worth checking how your loft is constructed. The spacing and depth of the joists, the position of water tanks, pipework and cables, and the location of the loft hatch all affect the best installation method. A professional survey provides clarity here, particularly in properties where previous owners have made alterations.
Know the difference between insulation and boarding
Loft insulation slows the escape of heat through the ceiling below. Loft boarding creates a stable surface for storage and access. They work together, but one should not compromise the other.
Where insulation needs to sit above joist level, the boarding must be raised above it. A raised loft boarding system creates a clear gap between the insulation and the boards, helping to preserve its depth and performance. It also avoids putting unnecessary pressure on ceiling joists, which are not always designed to carry heavy loads.
Choose insulation that suits the space
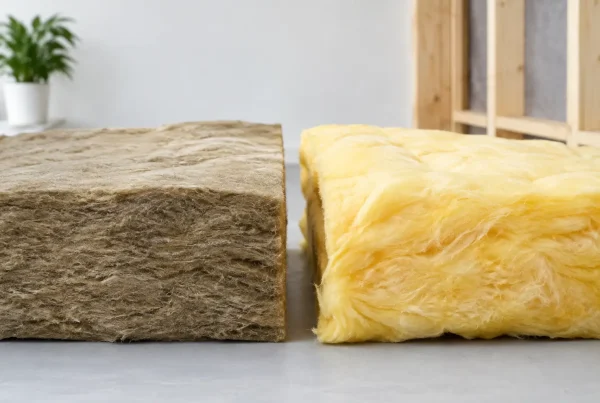
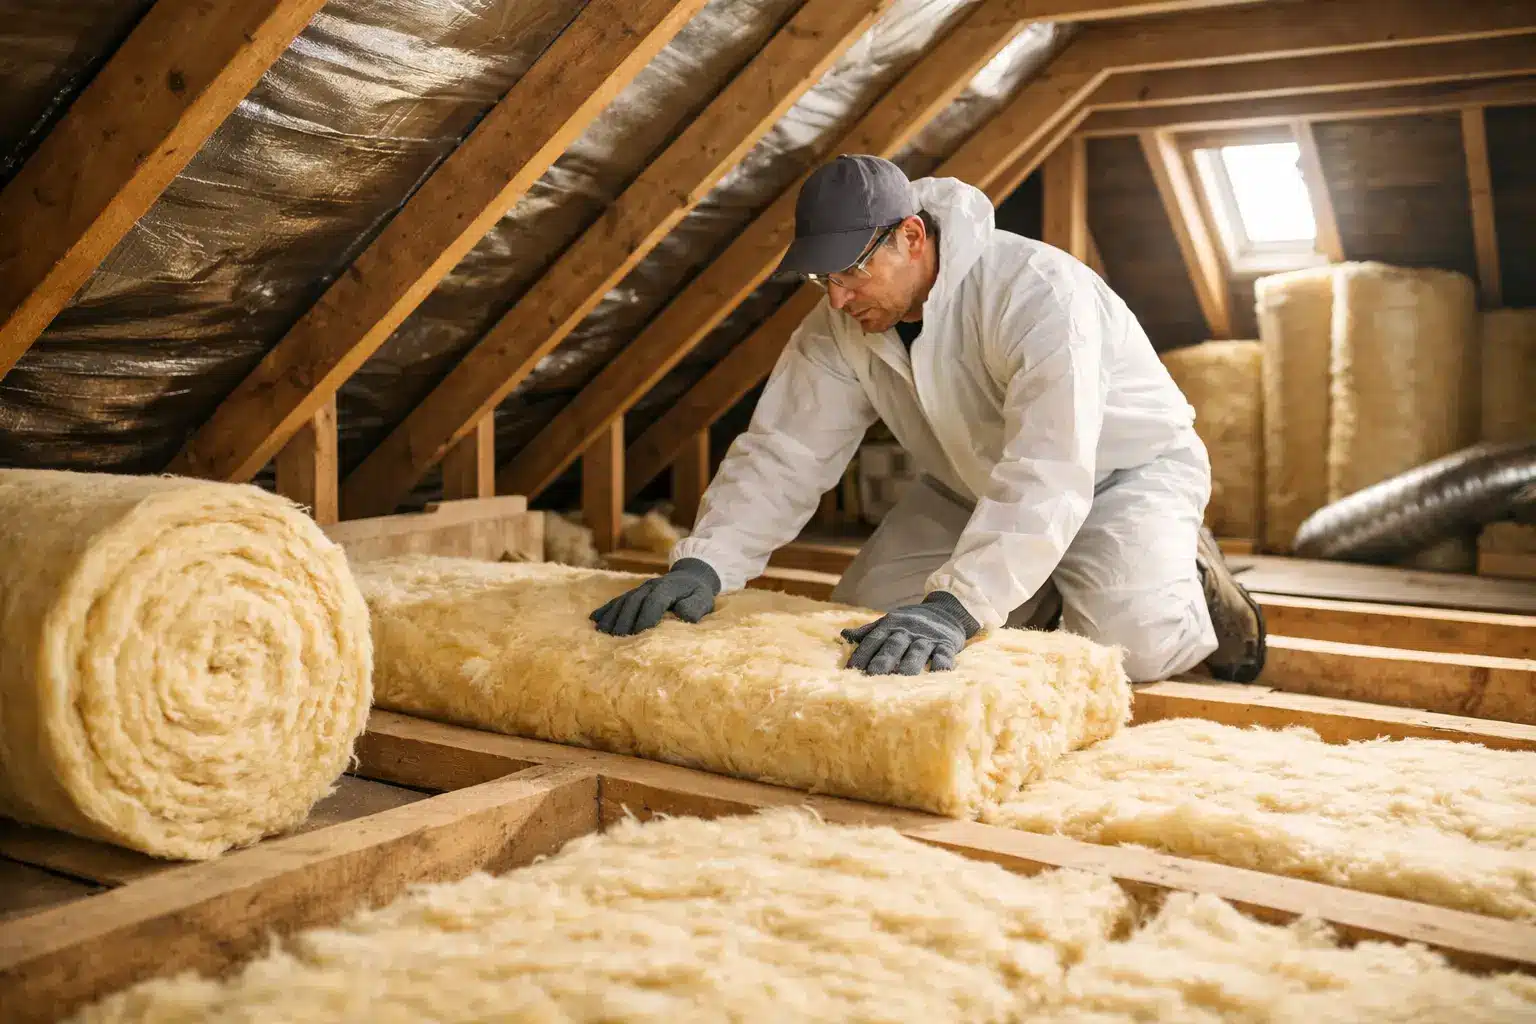
Mineral wool remains a common choice for loft floors because it is effective, widely available and works well around awkward shapes. It needs to be laid evenly, without large gaps, and should not be compressed beneath standard boards.
Rigid insulation boards can be useful in some roof or loft-conversion applications, but they are not automatically the best answer for every storage loft. Their installation requires careful detailing around joints, ventilation paths and services. The most suitable approach depends on whether you are insulating the loft floor, roof slopes or gable walls, as well as how you intend to use the space.
For most homeowners using the loft primarily for storage, insulating at floor level is the practical option. It keeps the living areas warmer without the cost and complexity of turning the roof space into a habitable room.
Do not block ventilation
A cold loft needs ventilation to help moisture escape. Blocking eaves vents, covering ventilation openings or packing insulation tightly into the roof edge can increase the risk of condensation. Over time, that can affect timbers, felt and stored belongings.
Your installer should maintain clear ventilation routes while ensuring insulation reaches the edges of the ceiling where heat loss can occur. This is one reason a careful, tailored installation is preferable to filling the loft indiscriminately.
Plan storage before boarding begins
Not every part of a loft needs boarding. In many homes, a central storage area or a boarded walkway from the hatch is enough. This keeps costs sensible while giving you easy access to suitcases, seasonal decorations, archived paperwork and household items.
Think about what you will store and how often you will need it. Lightweight items can usually be accommodated in a properly designed raised boarding area, but heavy furniture, gym equipment or large boxes of books may require a more detailed assessment. The loft floor structure matters, and adding boards does not turn a storage loft into a room designed for regular living.
A practical layout may include a raised boarded platform, a clear route from the loft hatch, lighting and a suitable ladder. Together, these improvements make the space genuinely usable rather than an awkward area that is difficult to reach safely.
Upgrade access and lighting at the same time
Insulation work is a good opportunity to improve the rest of the loft. If your hatch is small, poorly fitted or uninsulated, heat can still escape around it. A larger insulated hatch can make access easier and reduce draughts.
A secure loft ladder is equally valuable. Balancing on a chair or carrying boxes up a loose stepladder is not a safe long-term arrangement. The right ladder should suit the available space, be straightforward to operate and provide a stable route into the loft.
Lighting is often overlooked until the first time you need to find something in winter. A properly positioned loft light makes storage safer and more convenient. Electrical work should always be assessed and completed appropriately, particularly where cables need moving or extending around raised boarding.
Consider new-build warranty requirements
For owners of newer homes, loft upgrades need extra care. Altering a loft without understanding the structure or warranty conditions can create concerns later, especially if the work affects insulation depth, roof ventilation or loading on the ceiling joists.
A specialist installation using an approved raised boarding system can help protect the intended performance of the loft while providing storage. Keep documentation for any work completed, including the specification and guarantee. It is sensible evidence if you sell the property or need to discuss future work with a warranty provider.
Older homes need a different kind of attention. Their joists, roof timbers and insulation may not follow modern conventions, so assumptions can lead to poor results. A survey-led recommendation is the safest way to decide what the loft can accommodate.
Avoid common insulation upgrade mistakes
The most common mistake is boarding directly on top of deep insulation. It may create a surface quickly, but it squeezes the insulation and can reduce the benefit you were trying to achieve.
Another is using the loft as a dumping ground before the work is planned. Overloaded or poorly organised storage makes it difficult to inspect the roof, reach services or spot leaks. Loft clearance before installation gives a clearer view of the space and allows the final layout to be designed around what you actually need to keep.
Homeowners should also avoid covering cables, burying junctions where they cannot be accessed, or positioning items close to heat-producing equipment. A professional installer can identify areas that need to remain clear and ensure the finished space is practical to maintain.
What a professional loft upgrade should deliver
A quality loft insulation upgrade is not only about adding more material. It should leave you with consistent insulation coverage, preserved ventilation, protected services and a sensible storage area that does not compromise the ceiling below.
For homeowners across South Wales and the South West, this can be a practical alternative to a full loft conversion. You gain valuable storage capacity without the disruption, planning considerations and cost associated with creating a new room.
At Loft Ins Space, the focus is on creating a tailored solution rather than fitting the same arrangement in every property. A free survey can establish the condition of the loft, the suitable boarding area and the access improvements that will make the greatest difference.
A loft should not force you to choose between a warmer home and somewhere to store the things that matter. With the right insulation depth, raised boarding and safe access, it can do both jobs properly for years to come.