A loft hatch may only cover a small opening in the ceiling, but it sits between your heated home and a deliberately colder loft. That makes the choice between insulated versus uninsulated loft hatches more significant than it first appears. A poorly fitting or uninsulated hatch can create a noticeable cold spot, allow warm air to escape and make condensation issues in the loft more likely.
For most homes, particularly where the loft is used for storage and accessed regularly, an insulated, draught-sealed hatch is the sensible long-term option. However, the right solution still depends on the property, the existing opening, the type of loft ladder required and the condition of the surrounding insulation.
Insulated versus uninsulated loft hatches: the key difference
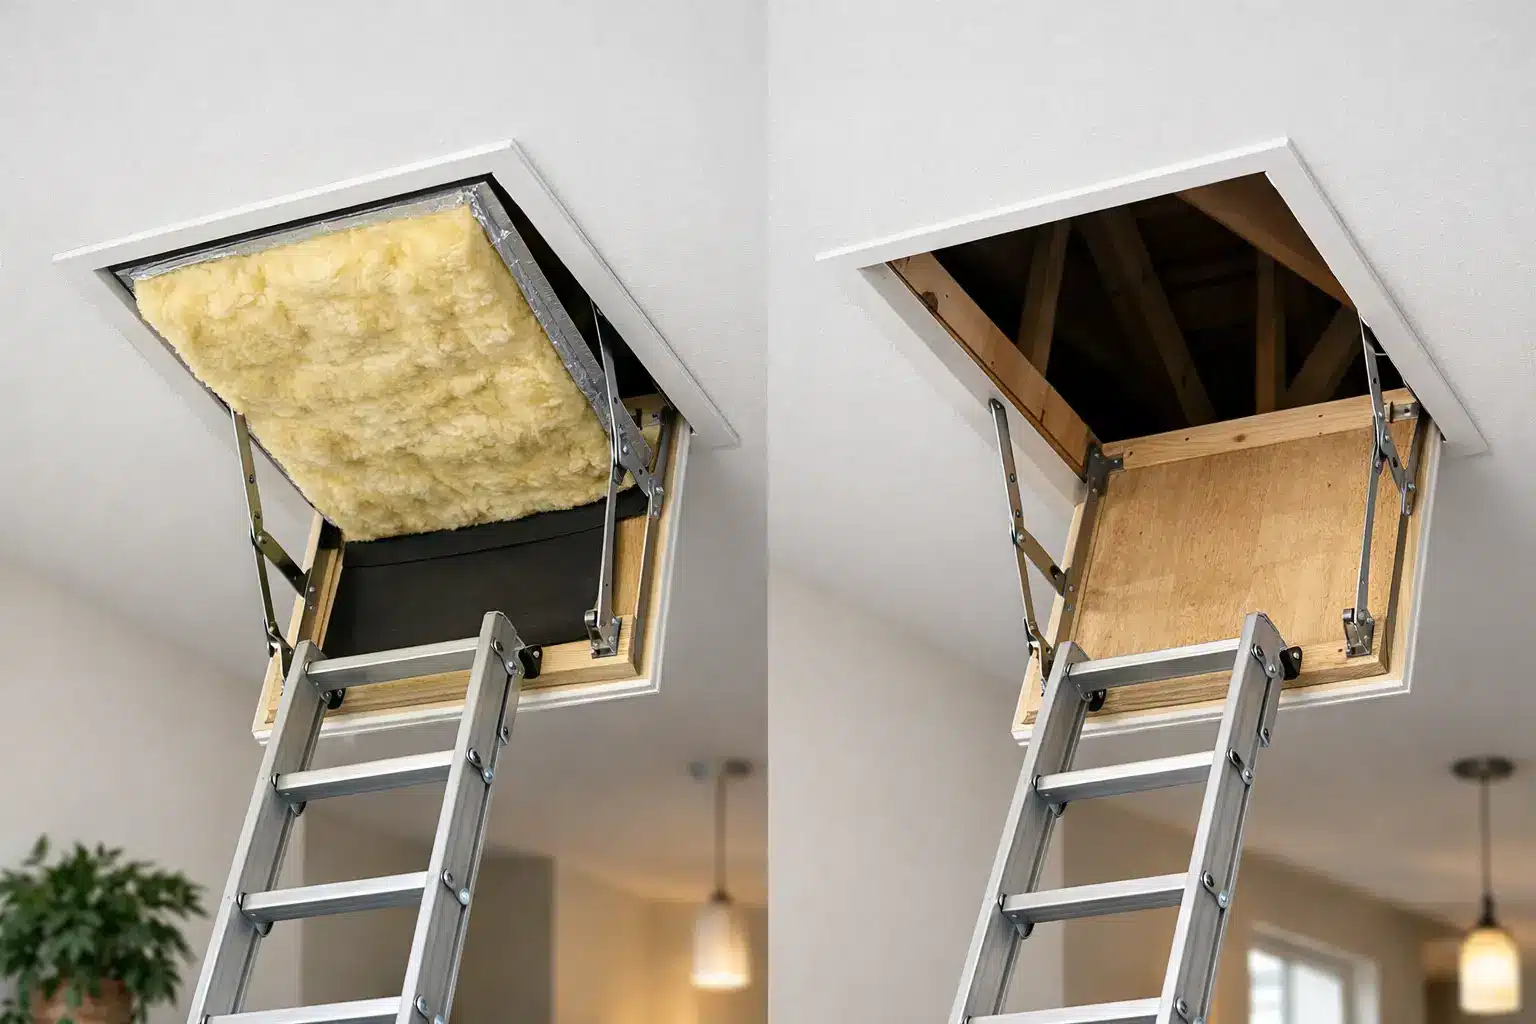
An uninsulated loft hatch is usually a simple timber or MDF panel that rests over, or fits within, the ceiling opening. Older homes commonly have this style of hatch. It provides access, but offers little resistance to heat loss and often has no effective seal around its edges.
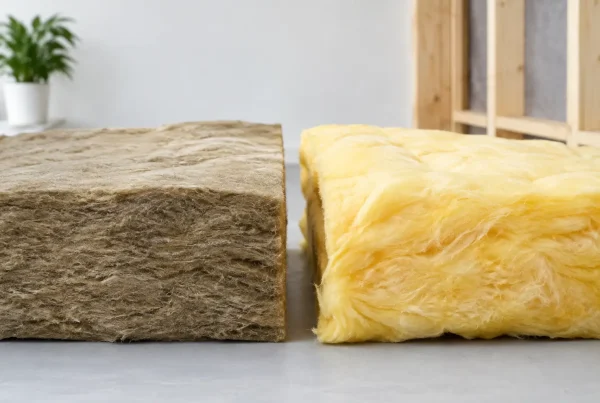
An insulated loft hatch includes insulating material within or above the hatch door, combined with a close-fitting frame and draught seals. The aim is to reduce the amount of heat passing into the loft while limiting air leakage around the opening. Many purpose-made insulated loft doors are also designed to work safely with integrated loft ladders.
The difference is not simply the insulation board attached to the hatch itself. A good installation considers the whole opening: the hatch door, frame, seals, surrounding ceiling finish and the continuity of insulation around it. If any one of these is overlooked, the hatch can remain a weak point in an otherwise well-insulated ceiling.
Why an uninsulated hatch can affect comfort and energy use
Warm air rises. During the heating season, the ceiling below your loft is one of the largest heat-loss areas in the home, which is why adequate loft insulation matters so much. An uninsulated hatch interrupts that protective layer.
The effect may be modest compared with an entirely uninsulated loft, but it is often easy to feel. Homeowners sometimes notice a cool patch on the landing ceiling, a draught near the hatch, or a colder upstairs hallway. If the loft hatch is directly above a frequently used area, such as a landing, these small losses can be especially noticeable.
Air leakage is often the bigger issue. Even a hatch with some insulation can underperform if there are gaps around the edge. Heated indoor air entering the loft wastes energy, but it can also carry moisture with it. When that moisture reaches cold loft surfaces, it may condense.
Condensation is about more than insulation
A cold loft is normal. The problem begins when warm, moisture-laden air from the house reaches that cold space through gaps around the hatch, downlight cut-outs, pipe penetrations or poorly sealed ceilings.
An insulated hatch with proper draught seals helps restrict this air movement. It should be part of a wider approach that includes suitable loft ventilation and checks for other routes of unwanted air leakage. Blocking ventilation in an effort to make the loft warmer can make moisture problems worse, so the balance matters.
Signs worth investigating include condensation on the underside of roof felt, damp timber, mould around the hatch frame or a musty smell when you open the loft. These symptoms are not always caused by the hatch alone, but an ill-fitting access door is a sensible place to start.
When an uninsulated loft hatch may be acceptable
Not every existing uninsulated hatch needs urgent replacement. In a rarely used loft with a well-fitted, substantial hatch and no signs of draughts or condensation, the immediate benefit may be less dramatic. Some homeowners also choose to improve the existing hatch by fitting insulation to its loft-side face and adding a suitable perimeter seal.
That said, retrofitting an old hatch has limits. A warped panel, loose frame or awkward push-up design can be difficult to seal properly. Adding insulation also adds weight, which may make a basic hatch harder to lift and less practical to use safely.
An uninsulated hatch is generally a weaker choice where you are upgrading loft insulation, installing a loft ladder, creating regular storage access or replacing a damaged ceiling opening. It makes little sense to invest in improving the loft only to leave its main access point as a source of heat loss and draughts.
The benefits of an insulated loft hatch
A professionally fitted insulated hatch offers practical benefits beyond a warmer landing. It creates a more dependable, finished entry point to the loft and can make frequent access easier.
The main advantages are straightforward:
- Reduced heat loss through the hatch opening and improved comfort in the room below.
- Draught control through a properly fitted frame and perimeter seals.
- Less opportunity for warm, moist air to enter the cold loft space.
- A safer, more convenient setup when paired with a suitable loft ladder.
- A neater finish that supports a well-planned loft storage upgrade.
For homeowners using the loft to store seasonal belongings, children’s keepsakes or household equipment, ease of access matters. A hatch that opens cleanly, remains insulated when closed and works with a stable ladder makes the space far more useful without compromising the home’s thermal performance.
Choosing the right hatch for your property
The best hatch is not always the thickest door available. It needs to suit the ceiling construction, available headroom, opening size and how you intend to use the loft.
Existing opening and ceiling structure
Many older properties have small openings that were designed for occasional access rather than safe storage use. Enlarging an opening may be appropriate where a loft ladder or bulky stored items are planned, but the surrounding joists and ceiling structure must be assessed first. Alterations should never be made casually.
In newer homes, there may also be considerations around trussed roofs, services and warranty requirements. A specialist survey helps identify a solution that improves access without affecting the roof structure or creating unnecessary compliance concerns.
Hatch type and loft ladder compatibility
A simple insulated push-up hatch can work well for occasional access. For regular use, a hinged insulated loft door is usually more convenient, especially when paired with a fitted ladder. The door should open in a controlled way and leave enough clearance for safe ladder use.
Integrated ladder-and-hatch systems are popular because they bring the components together neatly. The important detail is that the unit is correctly sized, securely fitted and sealed once closed. A convenient ladder is of limited value if the door above it rattles, leaks air or is difficult to close properly.
Insulation depth around the opening
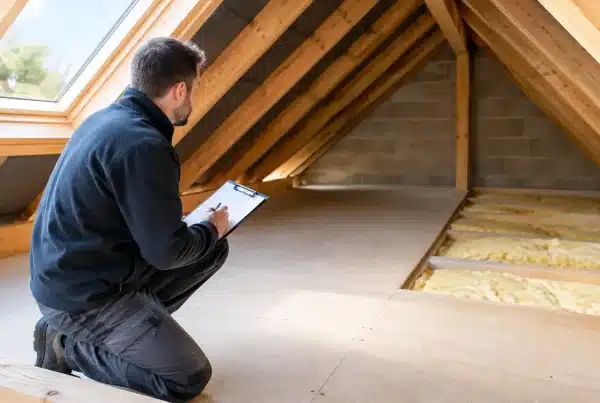
Modern loft insulation is often much deeper than older installations. The hatch opening needs a properly formed insulated upstand or surround so insulation can be maintained around it without falling into the opening or being compressed.
This becomes particularly relevant when adding raised loft boarding. Boards should be elevated above the insulation rather than squashing it beneath the storage floor. The same principle applies around the hatch: protect the insulation’s performance while keeping a clear, safe route into the loft.
Should you upgrade the hatch when boarding the loft?
Usually, yes. Loft boarding, a ladder, lighting and a hatch work best as one coordinated project. Installing them separately can lead to avoidable compromises, such as a ladder that does not suit the opening, insulation disturbed around the access point or boarding that makes future hatch work more difficult.
For a family in Cardiff, Newport, Swansea or Bristol looking to gain practical storage without the cost and disruption of a loft conversion, this joined-up approach is particularly worthwhile. It keeps the work focused on the outcome: a loft that is easy to reach, safe to use and better protected against heat loss.
A professional installer can assess the condition of the existing hatch, recommend whether it should be insulated, enlarged or replaced, and make sure the surrounding loft insulation and boarding system are not compromised. This is especially helpful in new-build homes, where protecting the roof structure and following appropriate installation methods is essential.
What to look for in a quality installation
The hatch should sit squarely within its frame, close firmly and have continuous seals with no obvious gaps. The loft-side insulation should be securely fixed, and the surrounding loft insulation should meet the frame without blocking the door’s operation.
Inside the home, the finish should be clean and stable, with no cracked ceiling edges or loose architrave. If a ladder is included, it should operate smoothly, be correctly supported and feel secure underfoot. These details affect day-to-day usability just as much as the hatch’s quoted thermal performance.
Building regulations and thermal standards can apply differently depending on the scale and nature of the work, so homeowners should avoid assuming that a one-size-fits-all hatch will suit every property. A survey is the safest way to establish what is suitable for your home.
A loft hatch should not be an afterthought hidden behind a ceiling panel. When it is insulated, well sealed and designed around how you will use the loft, it helps turn an awkward void into storage space you can rely on – while keeping warmth where it belongs: inside your home.