A boarded loft should give you useful storage without undoing the energy-saving work beneath it. Knowing how to insulate around loft boards is therefore less about squeezing insulation into every gap and more about creating the right separation between the ceiling, insulation and storage deck. Get that detail wrong and insulation can become compressed, ventilation can be restricted, and the loft may feel colder than it should.
For most homes, the answer is a raised boarding system. It allows insulation to reach its intended depth while leaving a stable, accessible floor above it. This is especially valuable where the loft stores boxes, suitcases, seasonal items or family possessions, rather than being used as a full conversion.
Why insulation and loft boards need space
Loft insulation works by trapping air. When heavy boards, stored items or walking traffic squash mineral wool insulation, much of that trapped air is lost. Its thermal performance drops, even if the insulation is still technically present.
Many older lofts were boarded directly across ceiling joists when insulation depths were much thinner. Modern recommended insulation depths are commonly far greater than the joists in a typical roof space. Laying boards straight on top means either compressing the insulation or leaving it thinner than it needs to be. Neither is an ideal long-term solution.
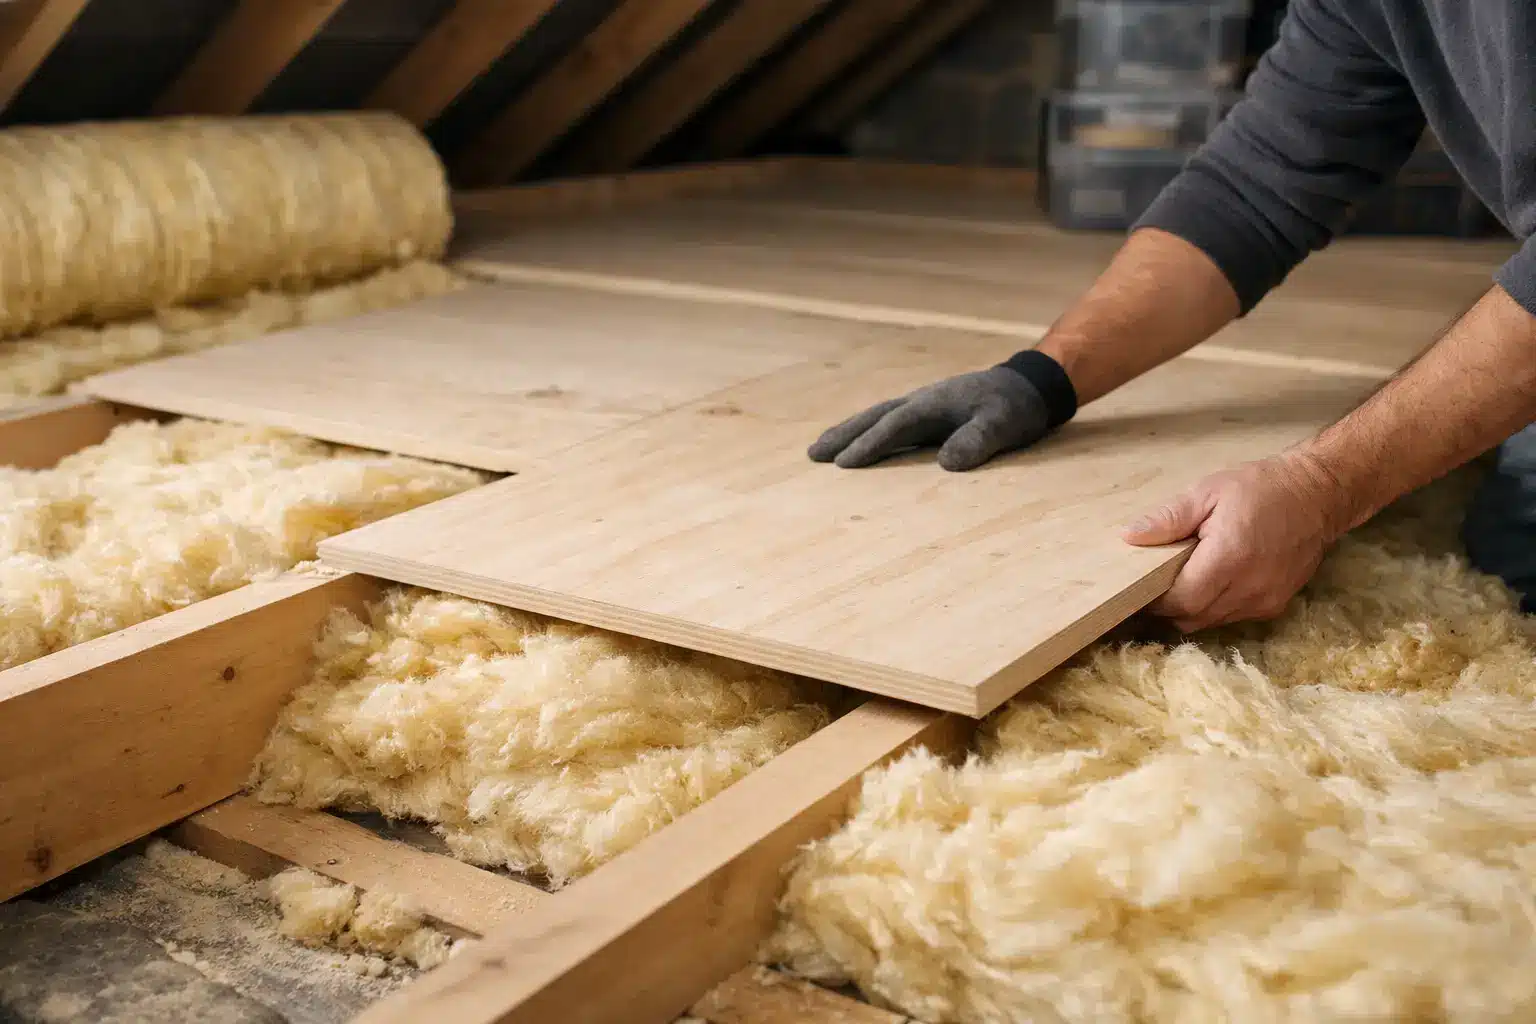
A raised loft floor creates a clear void above the insulation. The boards are supported on purpose-designed legs, battens or another suitable structural system, rather than pressing into the insulation below. This protects warmth in the rooms underneath and gives you a solid surface for storage.
There is a trade-off. Raising the floor reduces headroom in the loft, which can matter in a low roof space. However, for storage-focused loft upgrades, retaining proper insulation depth is usually more valuable than gaining a few extra centimetres of height.
How to insulate around loft boards without compression
Start by deciding which part of the loft needs boarding. In most cases, only the central area around the loft hatch needs a safe walkway and a practical storage platform. Insulating the rest of the loft floor is still worthwhile, but it does not all need to be boarded.
Check the ceiling structure first
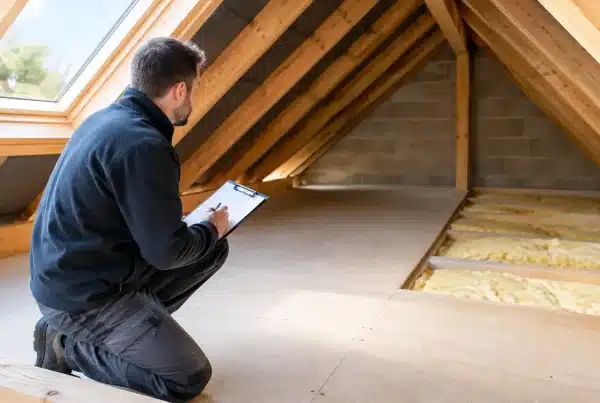
Before adding insulation or boards, identify the ceiling joists and their condition. Joists in a loft are often designed to support the ceiling below, not the weight of a converted room. A storage deck must be planned with realistic loading in mind, particularly in older properties where timber sizes and spacing can vary.
Do not assume that every existing board is safe to retain. Old chipboard can be swollen, poorly supported or fixed in a way that makes access to cables and pipework difficult. If there are signs of damp, sagging ceilings, damaged timbers or active leaks, resolve those issues before insulating and boarding.
Bring the insulation up to an effective depth
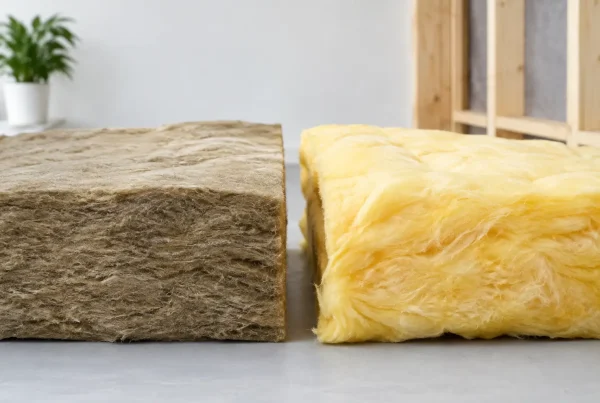
The insulation should sit evenly between and, where required, across the ceiling joists. Mineral wool is common because it fills irregular spaces well and is straightforward to fit around obstructions. Rigid insulation boards can be suitable in some situations, but they require careful cutting and sealing to avoid gaps.
Avoid forcing insulation tightly around cables, pipes and downlights. Electrical components need suitable clearance and may require protective covers or assessment by a qualified electrician. Water pipes in the loft should remain protected from freezing, but placing insulation in the wrong position can leave them exposed to colder air. Generally, insulation belongs beneath pipes so heat from the home helps protect them, while any loft tank or pipework arrangement should be assessed on its own merits.
When topping up existing mineral wool, lay new layers at right angles to the joists where practical. This helps cover the timber, which otherwise acts as a thermal bridge. Keep the insulation light and fluffy rather than packed down.
Raise the boards above the insulation
This is the key stage when considering how to insulate around loft boards. Install a suitable raised support system that transfers the load to the joists while holding boards above the full insulation layer. The height of the supports should be selected for the required insulation depth and the loft’s available headroom.
Once the framework is in place, fit quality loft boards securely, leaving access where future maintenance may be needed. A continuous central deck is often practical, but the design should also allow a clear route from the hatch and avoid covering important services unnecessarily.
The boards should never rely on the insulation for support. If they flex underfoot, press into the wool or sit directly on it, the installation needs revisiting.
Leave ventilation routes clear
A cold loft needs ventilation to manage moisture. Insulation must not block eaves vents, soffit vents or air paths running from the eaves towards the roof. Blocking these routes can increase the risk of condensation on the underside of the roof covering and timber structure.
At the edges of the loft, keep insulation clear of ventilation openings. Ventilation trays or baffles can help maintain a channel where insulation reaches the eaves, particularly in tight roof spaces. This is one area where a neat-looking installation can still cause problems if it has been packed too tightly.
Do not insulate the underside of the roof just because you are boarding the loft floor. For an unconverted storage loft, the thermal boundary is normally at ceiling level. Insulating roof slopes changes how the roof space behaves and needs a properly considered approach to moisture control and ventilation.
Work carefully around hatches, lighting and services
The loft hatch is often the weakest point in an otherwise well-insulated ceiling. An uninsulated, draughty hatch allows warm air into the loft and makes the landing below feel colder. Fit insulation to the hatch itself where space allows, and use draught seals around the frame so it closes snugly.
If you are installing a loft ladder, ensure the hatch, ladder and boarding arrangement work together. The boarding should provide a safe standing area at the top of the ladder, without restricting its operation or creating a trip hazard.
Recessed downlights, extractor ducts, junction boxes, alarm cables and solar equipment all need consideration. Do not bury components that need ventilation or future access. Mark service routes where useful, and leave removable board sections or access panels for equipment that may need inspecting later.
New-build homes need an extra check
For newer homes, loft boarding can have warranty implications if it damages insulation, electrical cables, ceiling joists or the roof structure. The concern is not simply whether boards are fitted, but how the load is supported and whether the installation alters the original construction inappropriately.
A purpose-designed raised boarding system is a sensible option because it is intended to preserve insulation depth while providing a defined storage area. Homeowners should retain installation information and check any relevant warranty requirements before work begins. This gives useful reassurance if the property is still within its warranty period.
When professional installation is the sensible choice
A small, lightly used boarding area can appear straightforward, but lofts frequently reveal awkward details once work starts: uneven joists, limited hatch access, old insulation, pipework, cables and restricted headroom. A professional survey identifies these constraints before materials are fitted.
For homeowners who want a clean, practical result without compromising insulation, Loft Ins Space can assess the loft structure, access and storage requirements, then specify a raised boarding solution that suits the property. This is particularly helpful where a new-build warranty, a low roofline or existing services make a standard DIY approach less certain.
The best loft storage does not ask you to choose between warm rooms and somewhere to put the Christmas decorations. Keep insulation at the right depth, raise the boards clear of it and leave ventilation and services accessible, and your loft can remain both energy-efficient and genuinely useful.