A loft can look well insulated and still allow costly heat loss if the material is too shallow, compressed or interrupted by boarding. This loft insulation depth guide explains what homeowners should look for, why the familiar 270mm figure is useful, and how to gain proper loft storage without compromising warmth below.
For many homes across South Wales and the South West, the right answer is not simply to roll out more insulation. The depth needs to suit the material, the roof construction, existing wiring and pipes, ventilation, and any plans for safe access or raised boarding.
What depth should loft insulation be?
For a typical cold loft with mineral wool insulation between and across ceiling joists, a total depth of around 270mm is widely used as the current practical UK benchmark. This level is designed to reduce heat escaping through the ceiling while remaining achievable in most properties.
That does not mean every loft needs precisely 270mm of the same product. Building regulations set thermal performance requirements rather than one universal thickness, and insulation products perform differently. A thinner, more thermally efficient board can provide similar resistance to heat flow as a deeper layer of mineral wool. Equally, an older home may have uneven joists, historic alterations or limited space at the eaves that call for a more considered specification.
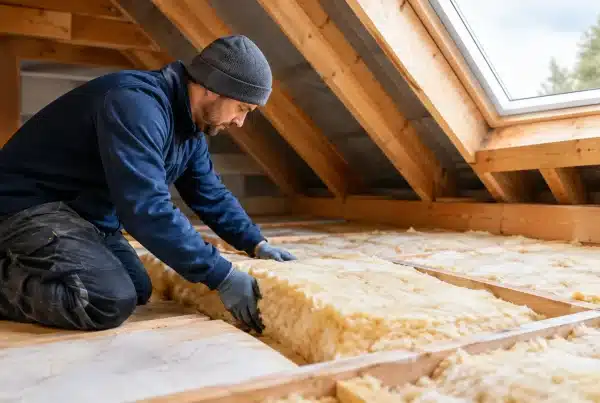
As a useful rule of thumb, homes with around 100mm of existing mineral wool often benefit from a further 170mm layer laid at right angles across the joists. Crossing the layers helps cover the timber joists, which otherwise create small thermal bridges through the insulation.
Why 270mm is not always the whole story
Depth matters, but installation quality matters just as much. Insulation should form a continuous blanket over the ceiling, with no obvious gaps around the loft hatch, pipework or awkward corners. It should also retain its intended thickness. Mineral wool works by trapping air, so squashing it beneath chipboard reduces its insulating value.
Older insulation can be misleading. A loft may contain a deep-looking layer that has settled, become patchy or been disturbed over years of storage. A survey should establish what is already there, whether it is dry and in good condition, and whether topping it up is sensible.
There are also situations where 270mm needs adapting. If a loft has low eaves, roof ventilation pathways must remain clear. If the ceiling joists are shallow, standard boarding laid directly on them will sit into the insulation. If a property has a warm roof construction, where insulation follows the roof slope rather than the ceiling line, the approach is different altogether.
Mineral wool, rigid boards and natural insulation
Mineral wool is common in lofts because it is cost-effective, easy to fit around irregular areas and suitable for a ventilated cold roof. At typical thermal performance levels, it generally requires a greater depth than rigid insulation boards.
Rigid boards such as PIR can achieve strong thermal performance at a shallower thickness, but they must be cut accurately and detailed carefully to avoid gaps. They are not automatically the best choice for every accessible loft, particularly where services, uneven timberwork and future access need consideration.
Natural-fibre products are also available, but their required depth, cost and moisture behaviour vary. The product should be selected for the building rather than chosen on depth alone. A professional recommendation should account for thermal performance, fire considerations, ventilation and how the loft will actually be used.
Loft boarding after insulation: protect the depth
The most common insulation mistake is boarding a loft directly over the joists after adding extra material. It may create a flat storage floor, but it compresses the insulation and can leave the ceiling below colder than expected. It can also make future maintenance more difficult where cables and pipes are buried beneath the boards.
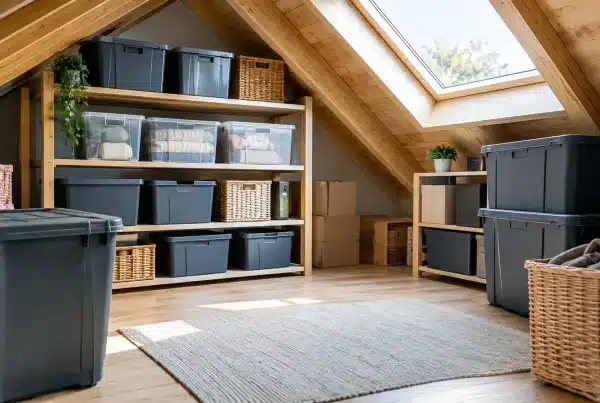
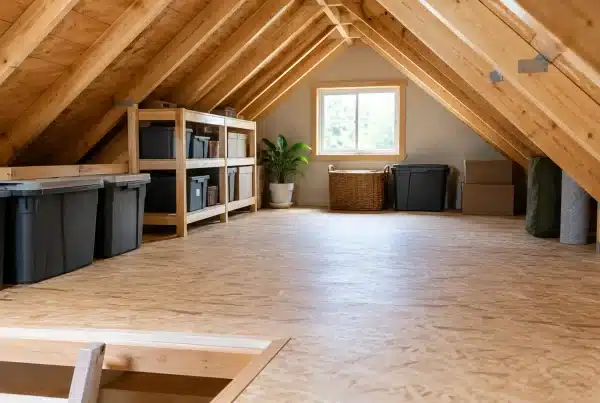
A raised loft boarding system solves this by lifting the storage deck above the finished insulation level. The supports create a service void and allow the insulation to remain at its designed depth. This gives homeowners a stable, usable platform for boxes and seasonal belongings without treating the loft as a full conversion.
The required raise depends on the insulation depth and the structural arrangement. For example, a loft aiming for 270mm of mineral wool needs boarding high enough that the underside of the boards does not press on it. The existing ceiling joists must not be assumed to be suitable for heavy loads simply because they can support a few light boxes.
For newer properties, the detail is especially important. Altering loft timbers or laying boards directly across trusses can raise concerns about the home’s design and warranty. A system designed for the property and installed without cutting structural members offers greater reassurance.
Do not block ventilation while improving insulation
A cold loft needs ventilation above the insulation to manage moisture. Warm, moist air from the house can find its way into the roof space through tiny gaps, and a lack of airflow may contribute to condensation, mould or timber decay.
Insulation should not be pushed tightly into the eaves where it blocks ventilation openings. Ventilation trays or baffles may be needed to preserve an air path from the soffits into the loft. This is particularly relevant in homes where previous work has packed insulation into every visible gap in an attempt to eliminate draughts.
The balance is straightforward: insulate the ceiling plane thoroughly, but maintain the roof’s intended ventilation route. If there are signs of damp timbers, staining, mould, leaks or persistent condensation, resolve the underlying cause before installing more insulation or boarding.
Details that make a noticeable difference
A well-insulated loft is more than a deep layer across the floor. The loft hatch is often a weak point, especially where an old, lightweight panel sits loosely over the opening. An insulated, draught-reduced hatch helps complete the thermal envelope and makes access more comfortable.
Pipes and water tanks in a cold loft also require care. Loft insulation should generally lie beneath pipes so warmth from the rooms below can help protect them from freezing. Pipes above the insulation may need suitable lagging. Water tanks should be insulated around the sides and top, while avoiding arrangements that leave the tank vulnerable to freezing.
Electrical cables must not be completely buried without thought. Cables can warm up in use, and thick insulation changes how readily they lose heat. A qualified electrician should assess cables where there is uncertainty, particularly around older wiring, recessed lights, junction boxes or electrical additions in the loft.
Finally, make sure the loft remains safe to enter. A secure loft ladder, properly sized hatch and lighting reduce the temptation to balance on joists or move insulation out of the way each time something is needed.
How to assess your own loft insulation
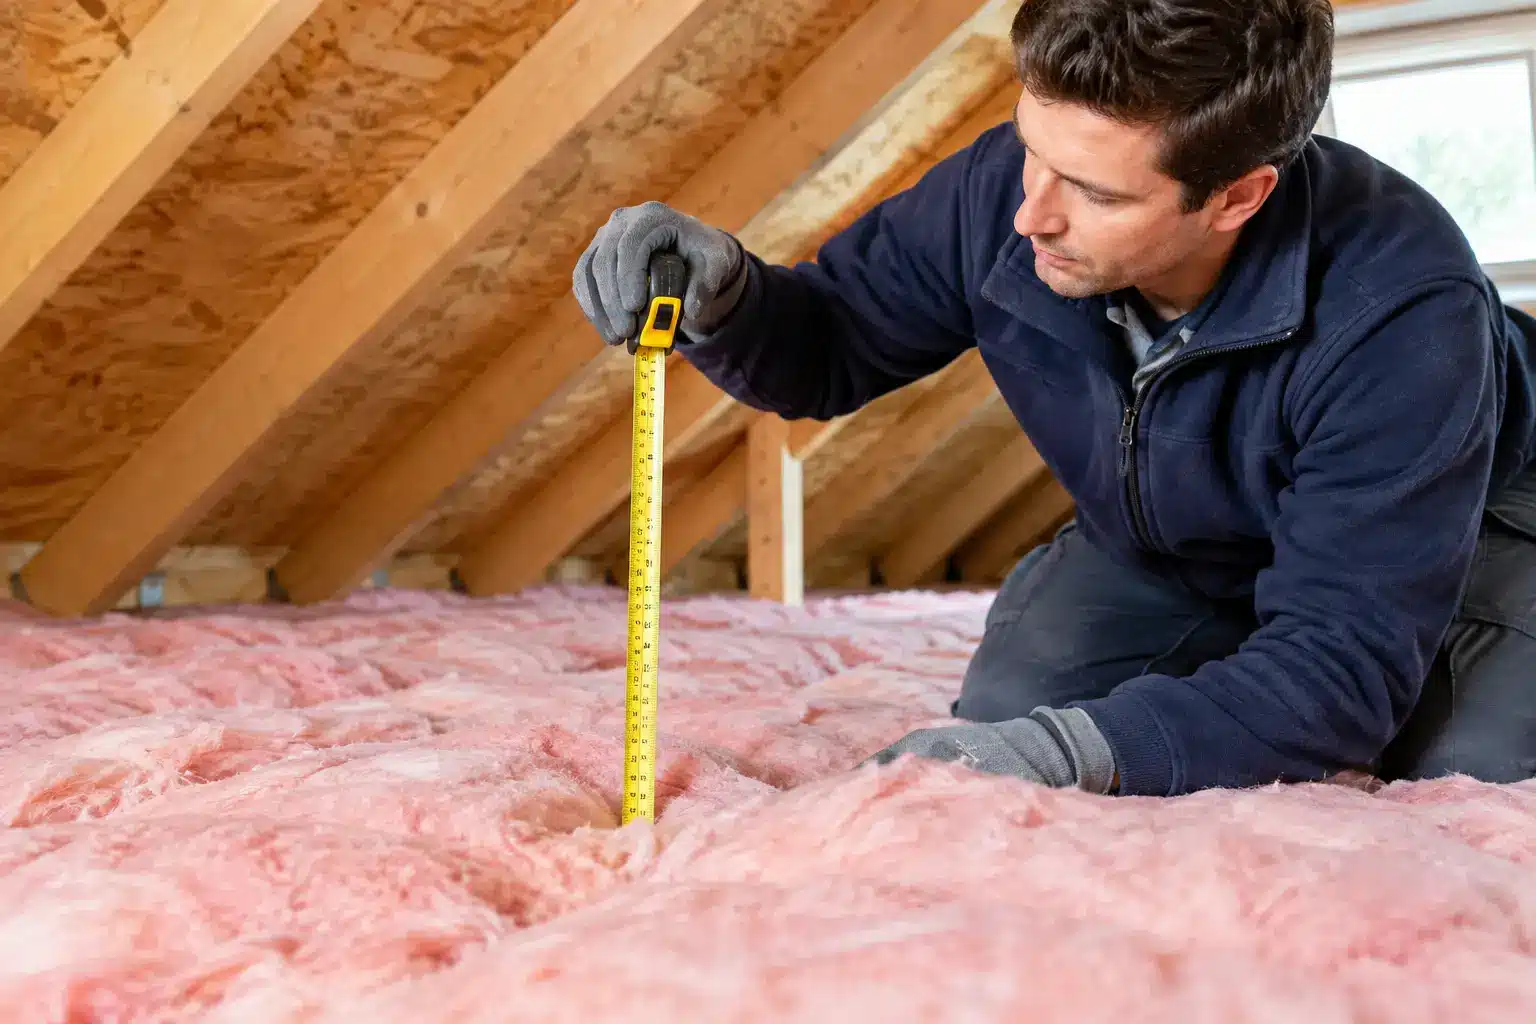
Start by measuring the depth in several places, not just the deepest corner. Look for compressed areas beneath stored items, bare strips over joists, gaps around the hatch and insulation that reaches too tightly into the eaves. Check whether the loft feels dry and ventilated, and identify any pipes, cables or downlights that need specialist attention.
Then consider your intended use. If you only need occasional access for maintenance, a small boarded walkway may be enough. If your household needs meaningful storage, plan the insulation and raised deck together rather than treating boarding as an afterthought. This avoids paying twice to lift boards and reinstate insulation later.
A tailored survey is valuable where the loft is awkward, the home is a new build, or there is uncertainty about loading and ventilation. Loft Ins Space can assess the existing setup and recommend a practical combination of insulation, raised boarding, access and lighting that keeps the space useful without sacrificing energy efficiency.
The best loft upgrade leaves you with a warmer home, a dry and ventilated roof space, and storage you can use confidently. That is a far better outcome than simply adding insulation until the loft is full.