The pushchair, Christmas decorations and boxes of family keepsakes tend to arrive in the loft one item at a time. Before long, a space that could solve your storage problems becomes difficult to reach, unsafe to use and full of compressed insulation. Knowing how to plan a loft upgrade helps you create useful storage without taking on the cost, disruption or structural work of a full loft conversion.
A well-planned upgrade is not simply a matter of laying boards. It should give you safe access, a stable walking surface, adequate lighting and storage capacity while allowing your insulation and ventilation to do their job properly.
Start by deciding what your loft needs to do
The best loft upgrade begins with a realistic purpose. For many households, the aim is clean, accessible storage for belongings used a few times a year. Others need a safer route to inspect a water tank, boiler equipment or electrical services. Some want to improve insulation at the same time as making the space usable.
This decision shapes every later choice. If you only need occasional access, a small raised boarded area and a reliable loft ladder may be enough. If you are storing larger items, you may need a wider hatch, more extensive boarding and better lighting. Planning for storage is different from planning a habitable room: a boarded loft does not automatically make it suitable for sleeping, working or living in.
Think about what will go up there, how often you will retrieve it and whether you can safely carry it through the existing hatch. There is little value in creating generous floor space if the access point is too small for the items you need to store.
Understand the loft before choosing materials
No two lofts are quite the same. Roof shape, joist direction, insulation depth, water tanks, chimney breasts, pipework and electrical cables all affect what can be installed and where. Older properties may have irregular construction or limited headroom, while modern homes often have deeper insulation requirements and trussed roofs that need careful consideration.
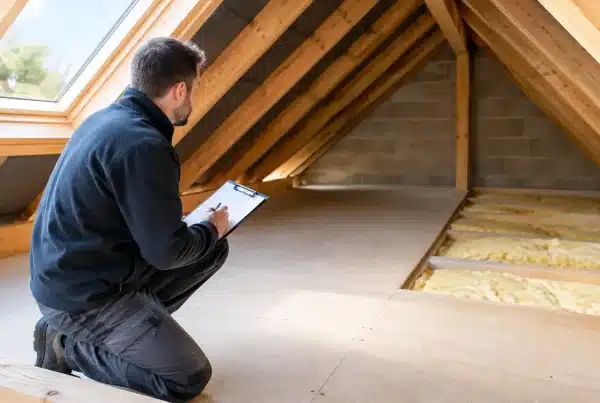
A professional survey provides a clearer picture than a quick look through the hatch. It can identify whether the current access is practical, how much usable area is available and whether the existing insulation needs topping up. It should also establish where services run, so they remain accessible and protected.
For new-build homeowners, this step is particularly valuable. Altering the loft incorrectly can affect insulation performance, ventilation or warranty conditions. A specialist can recommend a system and fixing method appropriate for the property rather than relying on a one-size-fits-all approach.
How to plan a loft upgrade around insulation
Insulation is often the point at which otherwise sensible storage plans go wrong. Standard loft insulation is designed to sit at a sufficient depth to reduce heat loss. Boarding directly over it can squash the material, reducing its effectiveness and potentially leaving the home colder and more expensive to heat.
Raised loft boarding solves this problem by creating a stable platform above the insulation. The void beneath the boards allows the insulation to retain its depth while giving you a level, practical surface for storage. It is a more considered solution than placing chipboard directly onto joists.
Ventilation matters too. Your loft needs airflow to help manage moisture and protect the roof structure. Insulation, boarding and stored belongings should not block designed ventilation paths. This is one reason why the layout needs to be planned around the whole loft, not simply around the largest open patch of floor.
If your insulation is thin, patchy or poorly fitted, address that before boarding. Combining insulation and raised storage work can be more efficient than arranging separate jobs, and it gives the finished loft a cleaner, more purposeful layout.
Plan safe access, not just extra floor space
A loft is only useful if you can get into it comfortably and safely. Many homes still have a small hatch and a loose step ladder, which makes retrieving a box awkward and increases the risk of a fall. Upgrading access can make as much difference to day-to-day use as the boarding itself.
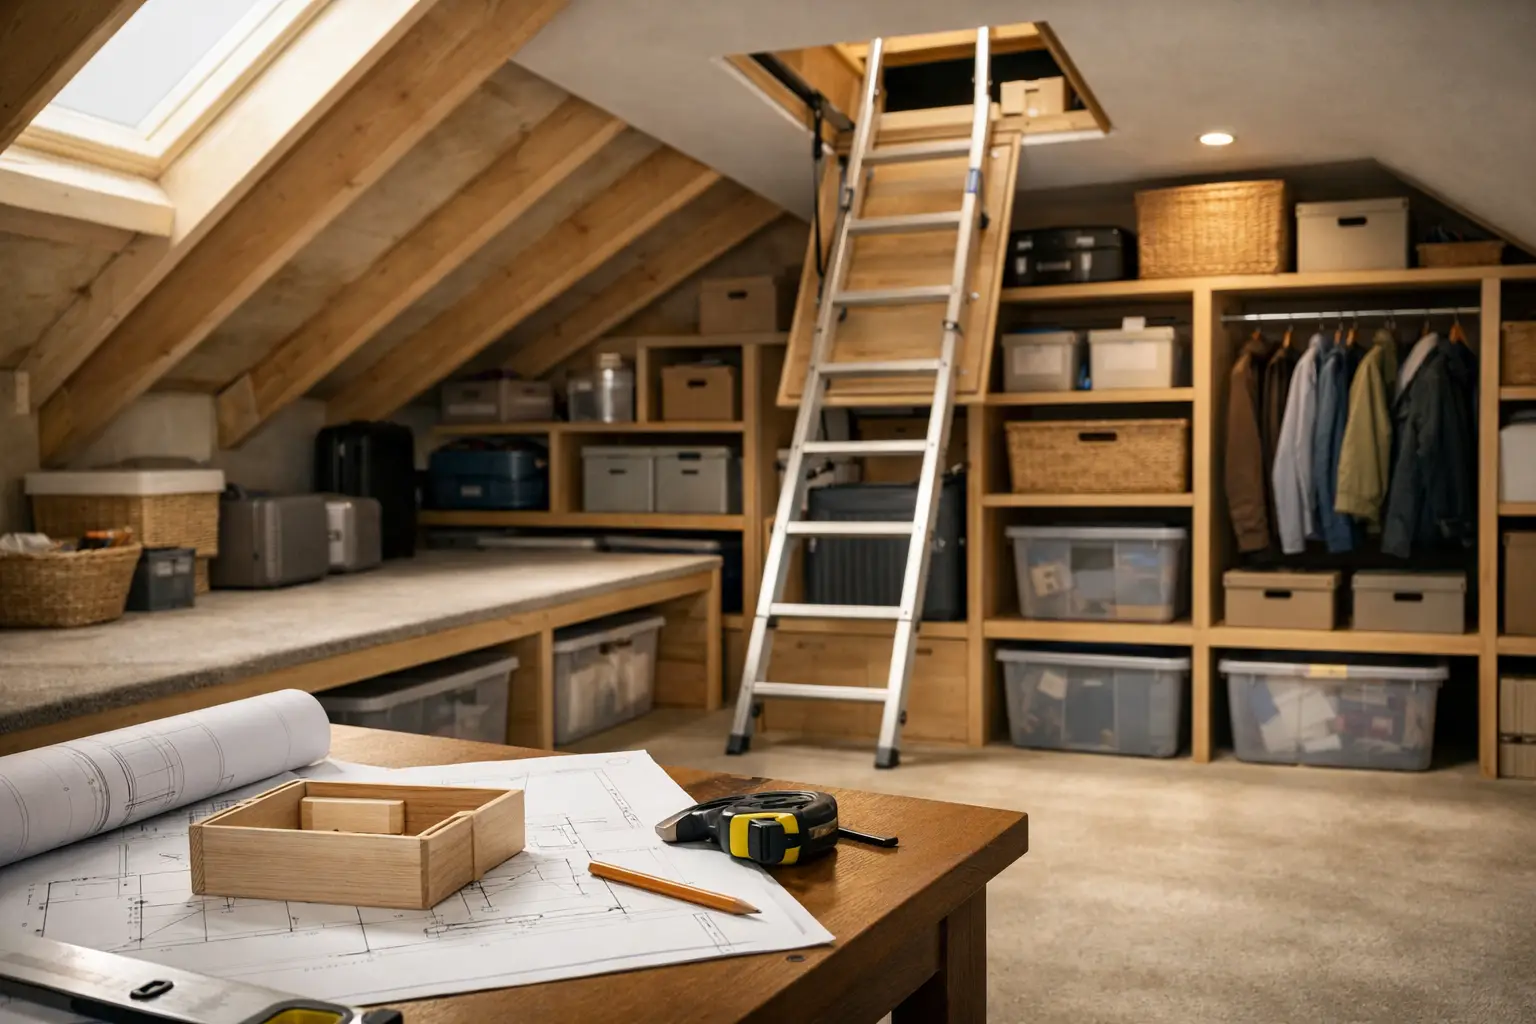
Choose a loft ladder that suits the available space, frequency of use and likely loads. A compact ladder may work well where ceiling space is limited, while a sturdier option can be preferable for regular access. The hatch should be large enough for sensible movement and, where possible, for the storage items you expect to carry through it.
A properly fitted hatch and ladder should feel secure, operate reliably and fit neatly into the room below. If the hatch is in a landing or bedroom, consider how the ladder will extend and whether it will obstruct doors, furniture or the main route through the room.
Lighting is another practical safety feature. A loft can seem manageable during a daytime inspection but become difficult to use on a dark winter evening. Fixed loft lighting near the hatch and across the boarded area makes it easier to see footing, avoid services and find what you need. Electrical work should always be assessed and completed appropriately.
Set a sensible storage layout
It is tempting to board every available inch, but more boarding is not always better. A good layout balances storage capacity with access to essential services, insulation, ventilation and the roof structure. Leave clear routes where future maintenance may be required.
Place heavy or bulky items close to the hatch where possible, rather than carrying them across the whole loft. Keep frequently used possessions in clearly labelled, stackable boxes and reserve less accessible areas for seasonal items. Avoid storing anything that is damp, perishable, highly flammable or likely to be damaged by temperature changes.
During a survey, make sure you discuss the details that affect the finished layout:
- the items you want to store and their approximate weight
- access needed for tanks, pipes, cables, extract ducts or other services
- whether you expect insulation to be improved as part of the work
- the type of ladder, hatch, lighting and boarded area that will make the space genuinely useful
This gives the installer enough information to recommend a tailored solution rather than an unnecessarily large or unsuitable installation.
Budget for the parts that protect the result
The cheapest quote is not always the best value if it overlooks the features that make the loft safe and long-lasting. Your budget should account for access, raised boarding, insulation, lighting and any clearance needed before work begins. The final cost depends on the size and shape of the loft, current insulation levels, access requirements and any obstacles within the space.
Be wary of plans based solely on a square-metre price. Two lofts with the same floor area can require very different work. A loft with a water tank, restricted hatch, deep insulation or complex roof trusses needs a different approach from a clear, open roof space.
Ask what system will be used, how it protects the insulation, whether workmanship is guaranteed and what is included in the proposed installation. Approved raised boarding systems and a clear guarantee can provide reassurance, especially when the work affects a newer home or a property you plan to sell in future.
Choose an installer who surveys, explains and adapts
A specialist installer should begin by understanding your home and storage goals, then explain the practical options in plain English. You should know what will be boarded, what will remain accessible and why the recommended approach suits your property.
For homeowners across South Wales and the South West, Loft Ins Space takes this survey-led approach to loft boarding, access, insulation and lighting. The aim is not to force every loft into the same package, but to create safe, useful storage with minimal disruption and a finish built to last.
The right loft upgrade makes the home work harder without changing how you live in it. Plan around access, insulation and the belongings you genuinely need to store, and the space above your ceiling can become one of the most useful parts of the house.