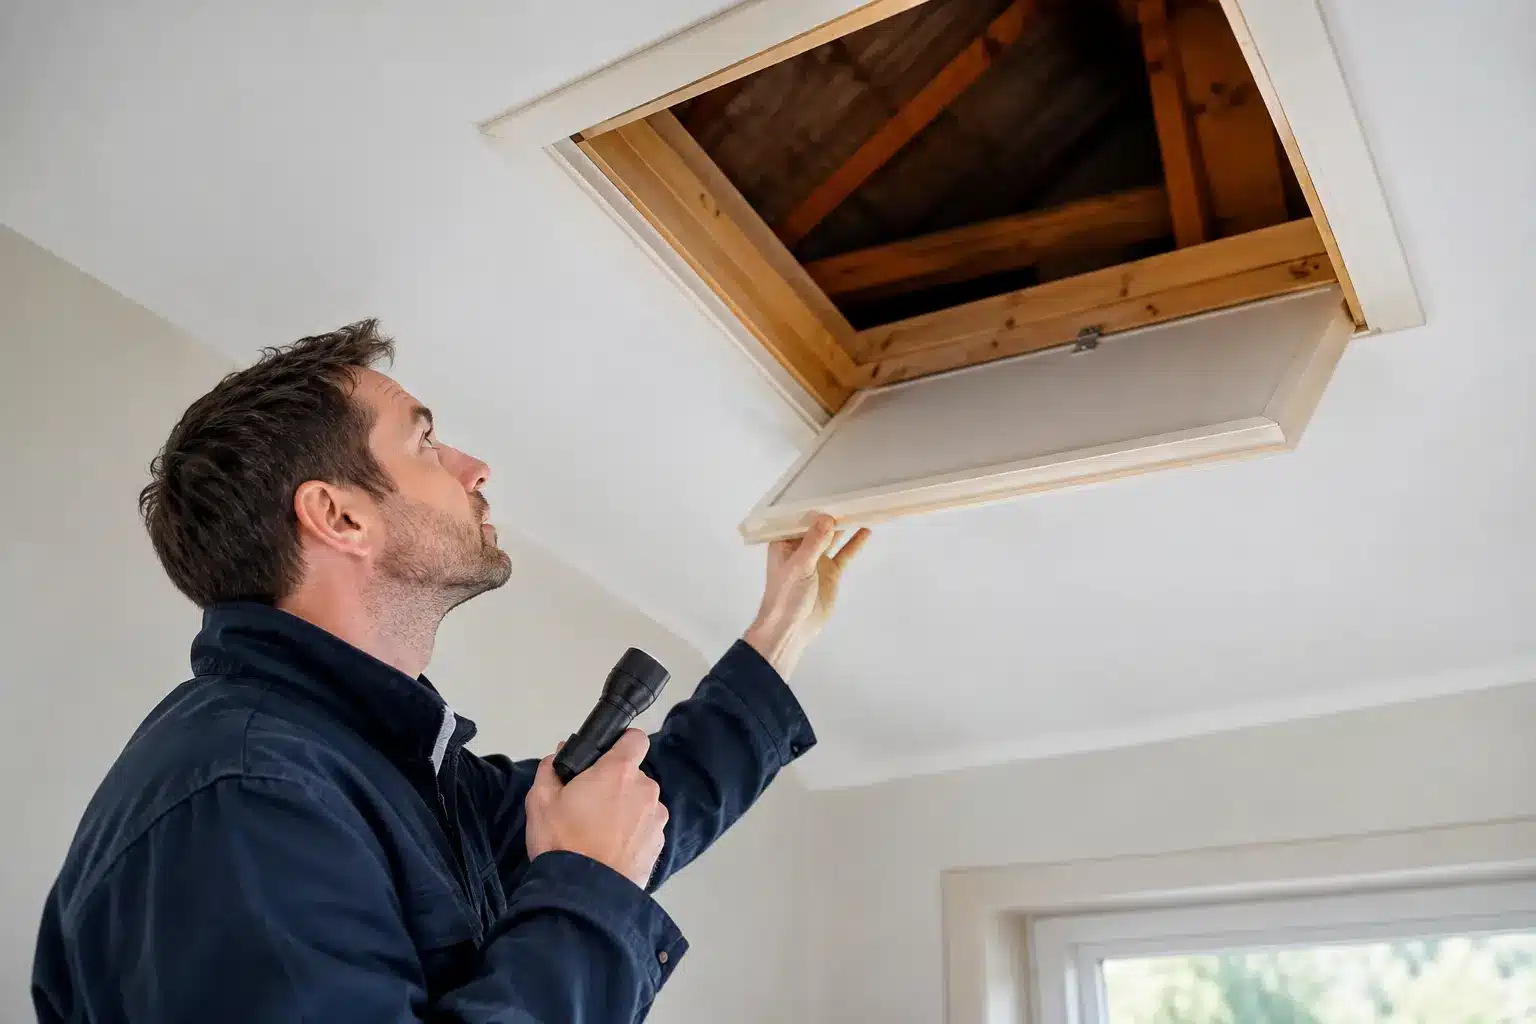
A loft hatch should provide a secure, insulated barrier between your warm home and the cold roof space. When you notice a brown mark around the frame, a cold draught on the landing or moisture on the hatch door, it is reasonable to ask: can loft hatches leak? Yes, but the word “leak” can describe several different problems – and the right repair depends on which one you have.
In most cases, the hatch is not creating a route for rainwater by itself. Instead, it may reveal a roof leak, allow warm moist air into the loft, or have gaps that let heat escape. Finding the true cause early protects your ceiling, insulation and stored belongings, while helping to prevent a small issue becoming a costly repair.
Can loft hatches leak water?
A loft hatch can show signs of water ingress, but rainwater usually enters the loft elsewhere. Damaged roof tiles, failed flashing, cracked felt, blocked gutters or defective ridge work can allow water into the roof space. It then runs along timbers, pipes or the underside of the roof covering before appearing at the loft opening or on the ceiling below.
This can make the hatch frame look like the source when it is only the lowest point that water can reach. A damp patch that worsens after heavy rain or strong wind is a useful clue that the roof, rather than the hatch door, needs investigating.
Water can also come from within the loft. A leaking cold-water tank, pipe joint, central-heating pipe or overflow pipe may drip on to the hatch or surrounding ceiling. Check carefully before moving insulation or climbing into the loft, especially where there is lighting or electrical wiring nearby. If water is close to electrics, switch off the relevant circuit if it is safe to do so and arrange professional help.
The more common issue: air leakage and condensation
Many homeowners use “leak” to describe a cold draught around a loft hatch. This is extremely common, particularly with older hatches that are simply a loose timber panel resting on a frame. Warm air from the house rises naturally. If it escapes through gaps around the hatch, it carries moisture into the colder loft where it can condense on roof timbers, felt or metal fittings.
Over time, this may lead to damp insulation, mould around the hatch, staining on the ceiling and a colder hallway or landing. You may also notice a musty smell in the loft or droplets on the back of the hatch during colder weather.
Condensation is not always caused by the hatch alone. Poor loft ventilation, bathroom extractor fans discharging into the loft, unlagged pipes and inadequate insulation can all contribute. However, an unsealed hatch is often an easy weak point to address as part of a wider insulation and ventilation check.
Signs your loft hatch is letting air through
Hold the back of your hand around the hatch edge on a cold or windy day. A noticeable flow of cold air suggests that the frame or door is not sealing properly. Dust marks around the perimeter can also indicate air movement, as can cobwebs that repeatedly gather in one area.
A hatch that bows, rattles, does not sit squarely in its frame or has visible gaps is unlikely to perform well. In some homes, the hatch is insulated but the frame has no draught seal, which means valuable heat can still escape around the edges.
Why a poorly sealed hatch matters
The immediate discomfort of a cold landing is only part of the problem. Heat loss through the loft access can make the central heating work harder, particularly in homes where the rest of the loft has recently been upgraded to current insulation levels. A well-insulated ceiling with one uninsulated opening is like wearing a warm coat without fastening it.
Moisture is the greater long-term concern. Damp insulation does not perform as intended, and repeated condensation can affect timbers and ceiling finishes. If you use the loft for storage, fluctuating temperature and humidity can also damage cardboard boxes, paperwork, fabrics and seasonal belongings.
For new-build homeowners, alterations around the loft should be planned carefully. Compressing insulation, boarding directly over ceiling joists or cutting structural timbers to enlarge an opening can cause avoidable problems. A suitable loft access and raised boarding system should preserve ventilation and insulation depth while respecting the property’s construction and warranty requirements.
Practical fixes for a leaking loft hatch
The best solution should deal with the source, not just cover the visible symptom. If rainwater is entering the roof space, a roofer or appropriate repair specialist should trace and fix that route first. Drying out the area without resolving the roof defect only delays the problem.
Where the issue is draughts, the hatch can often be improved with a continuous compressible seal fitted around the frame. The door needs to close evenly against it. A catch, hinges or a purpose-made loft hatch door can help achieve a secure fit, depending on the type of opening and the available headroom.
Insulation should be fitted to the upper side of the hatch door, provided it does not stop the hatch closing properly or interfere with safe access. Rigid insulation board is commonly used because it is light and effective for its thickness. It should be cut neatly, fixed securely and kept clear of any wiring, light fittings or heat sources.
Do not pack loose mineral wool over the hatch and hope for the best. It can fall when the hatch opens, create mess on the landing and make access less safe. It also does nothing to seal gaps around the frame.
If the existing opening is small, awkward or damaged, replacing it may be better value than repeatedly repairing it. A modern insulated loft hatch with a proper draught seal can provide a neater finish, easier access and more reliable thermal performance. This is particularly worthwhile when installing a loft ladder or creating practical storage space.
Do not overlook ventilation
Sealing the hatch should not mean sealing the entire loft. Roof spaces need suitable ventilation to manage normal moisture levels. Blocking eaves vents with insulation or boarding can trap humid air and increase condensation risk, even if the hatch itself is perfectly sealed.
The balance is straightforward: keep warm household air inside the home, insulate the ceiling plane thoroughly, and allow the cold loft above it to ventilate as designed. Bathroom and kitchen extractors should vent outdoors, not into the roof space. If they discharge into the loft, correcting this can make a major difference to condensation.
When to arrange a professional survey
A simple draught seal may be suitable for a sound, accessible hatch. Call in a professional when there is persistent staining, active dripping, mould, rotten timber, sagging plasterboard or evidence that insulation is wet. These are signs that the issue may extend beyond the access door.
A survey is also sensible if you are planning loft boarding, a ladder or a replacement hatch. The installer can assess the opening, joist layout, insulation depth, access requirements and ventilation before recommending a tailored solution. Raised boarding is especially valuable where insulation needs to remain at full depth rather than being compressed beneath stored items.
Loft Ins Space can assess loft access, insulation and boarding together, helping homeowners create usable storage without compromising the performance of the space below. Addressing the hatch as part of the whole loft system usually delivers a cleaner, longer-lasting result than treating one visible gap in isolation.
A dry, draught-free loft hatch is a small detail with a meaningful effect on comfort and peace of mind. If yours is showing stains, moisture or cold air, take it as a prompt to investigate now – before the next spell of rain or winter cold turns a manageable repair into damage across the ceiling below.